
Non-Electrical components in KiCad
PCBs are rarely, if ever, standalone elements. They are typically integrated with mechanical constraints and non-electrical components such as screws, chassis, and optical equipment. It's a good practice to include these components in your design: in the BOM (Bill of Materials), in the schematic for reference, and as footprints in the PCB layout to help prevent collisions with other components or traces. Including them in the 3D preview also gives you a better sense of how the final product will look. In this KiCad tutorial, we’ll learn how to manage these components in an organized and efficient way.
Solution To properly account for non-electrical components in your PCB design, create dedicated symbols and associate them with custom footprints that include embedded 3D models. These elements should be placed on non-copper layers (e.g., user drawing layers) to ensure they don’t interfere with the electrical design. This approach ensures your mechanical components are considered at every stage e.g. BOM, PCB layout, and 3D visualization.
What You’ll Learn
In this tutorial, you’ll learn how to: - Design a non-electrical symbol that represents a mechanical component - Link that symbol to a custom footprint with an associated 3D model - Place the footprint on a non-electrical layer (such as the user drawing layer) for clear separation from copper elements
1️⃣ Create a Symbol to Hold the Text
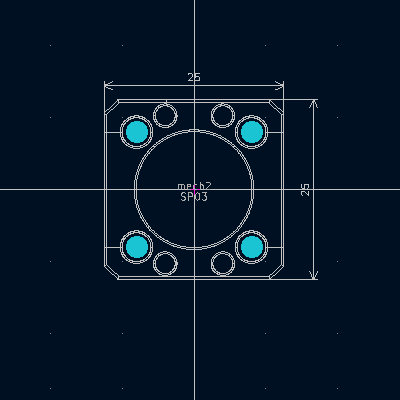
Next, we’ll create a symbol that contains our mechanical object, so we can place it in the schematic and keep it for a complete BOM. For this example we'll be using the CP35/M an optical cage plate
🔧 Steps:
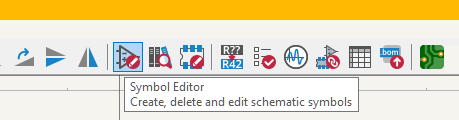
- Open Symbol Editor (Tools > Symbol Editor).
 - Create New Library or Add an existing one:
 - Choose Global or Project:
- Name the symbol library: e.g. Optical_Components.kicad_sym
- Click on New Symbol
- Choose Global or Project:
- Name the symbol library: e.g. Optical_Components.kicad_sym
- Click on New Symbol
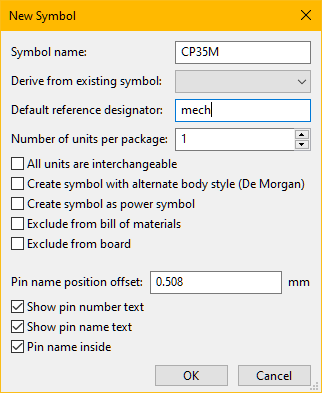 - Name it CP35M
- Give a reference designator, for example mech
- Name it CP35M
- Give a reference designator, for example mech
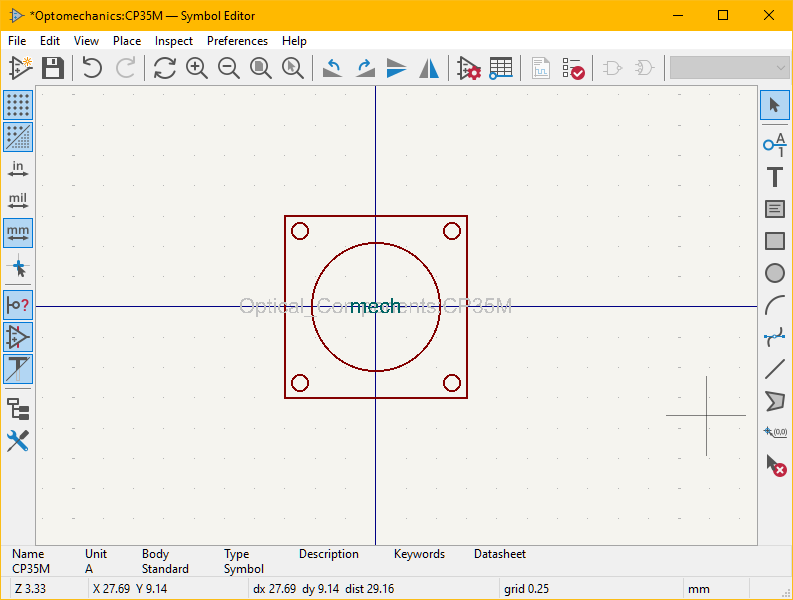 - On the Menubar, click Symbol properties:
 - Set the properties the value is not important at this stage.
- Exclude from simulation (optional)
- If possible place the link for the datasheet
- Put a brief description
- Create a new field for example named Link and paste the web link of the component (this will help the BOM)
- Save the symbol (keep the Symbol Editor opened)
- Set the properties the value is not important at this stage.
- Exclude from simulation (optional)
- If possible place the link for the datasheet
- Put a brief description
- Create a new field for example named Link and paste the web link of the component (this will help the BOM)
- Save the symbol (keep the Symbol Editor opened)
📌 This symbol acts purely as a placeholder and won’t affect electrical functionality.
2️⃣ Create a Footprint
🔧 Steps:
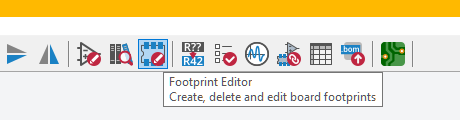
- Open Footprint Editor.
 - Create New Library or Add an existing one:
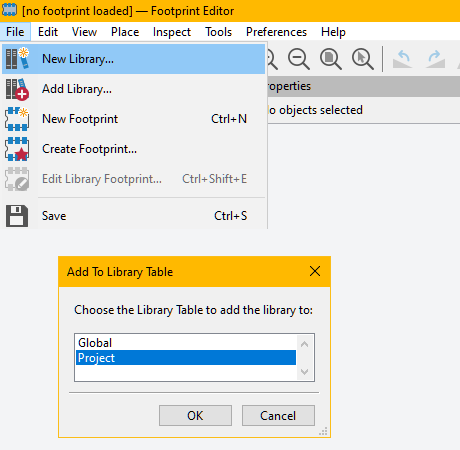 - Choose Global or Project:
- Name the footprint library: e.g. Optiomechanics.pretty
- Click on New Footprint (File>New Footprint)
- Choose Global or Project:
- Name the footprint library: e.g. Optiomechanics.pretty
- Click on New Footprint (File>New Footprint)
 - Name it, for example CP35M in the library just created (Optomechanics.pretty)
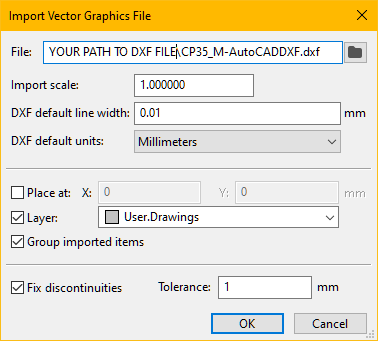
- Go to File>Import>Graphics and choose your DXF file, I chose the User.Drawings layer
- Name it, for example CP35M in the library just created (Optomechanics.pretty)
- Go to File>Import>Graphics and choose your DXF file, I chose the User.Drawings layer
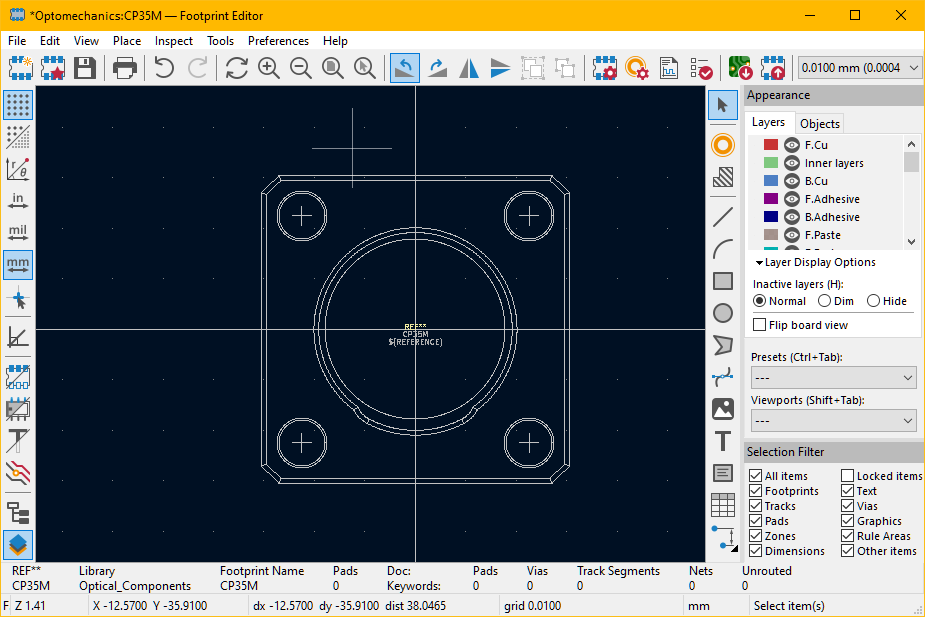
 - Here you may want to clean up the DXF and center it
 - Go to the menubar and click on Footprint Properties
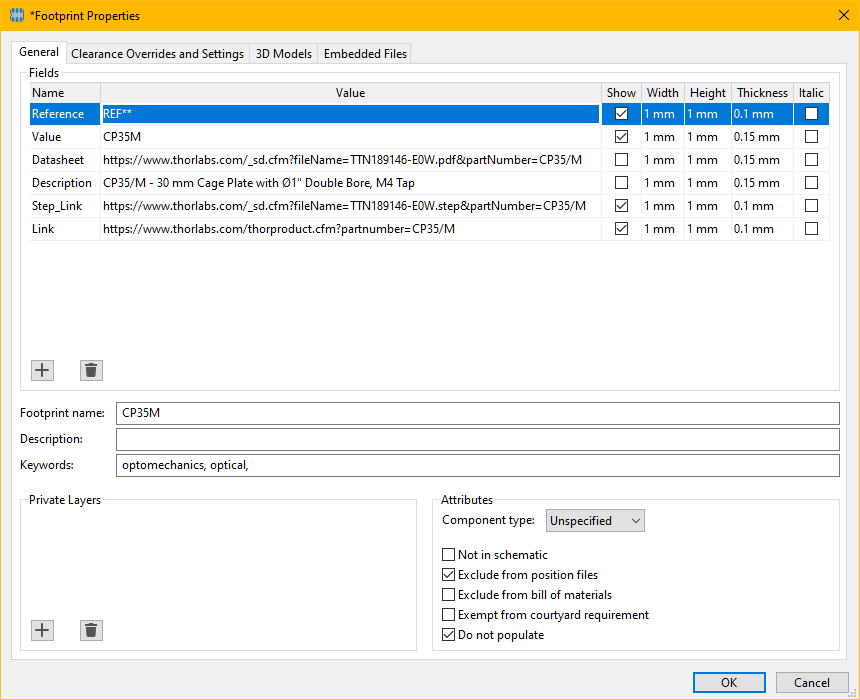 - You may want to set the link to the datasheet, write down a brief description, place the link to the step file and to the website (all optional)
- Component Type Unspecified
- Exclude from position files
- Do not populate
- Go to the tab 3D Models
- You may want to set the link to the datasheet, write down a brief description, place the link to the step file and to the website (all optional)
- Component Type Unspecified
- Exclude from position files
- Do not populate
- Go to the tab 3D Models
 - Click on the "+" sign to include a new path and search for your .step file
- Make sure the option Show on the right is checked
- Click OK
- Save the footprint.
- Click on the "+" sign to include a new path and search for your .step file
- Make sure the option Show on the right is checked
- Click OK
- Save the footprint.
🔄 Link Symbol to Footprint
Go back to the Symbol Editor and assign the new footprint to the CP35M symbol.
- Open the dialog box Symbol Properties
- Go to the footprint row and search for the created footprint
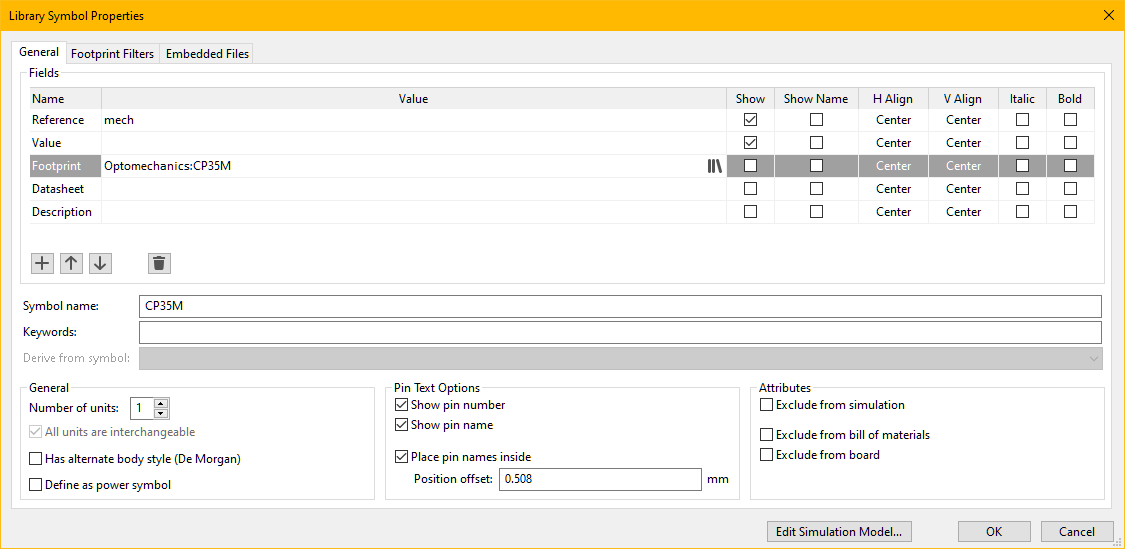
 - Save the symbol and place it into your design
🎉 - Your BOM will contain the information about the part
🎉 - The board will display on the User.Drawings layer the DXF of your mechanical component
🎉 - The 3D model will be complete!
⬇️ Optical Components library download
- Save the symbol and place it into your design
🎉 - Your BOM will contain the information about the part
🎉 - The board will display on the User.Drawings layer the DXF of your mechanical component
🎉 - The 3D model will be complete!
⬇️ Optical Components library download